Splitting and Repotting a Basil Plant from the supermarket
In this blogpost I will illustrate how I am splitting and repotting a basil plant from the supermarket into several different basil plants.
Through splitting a basil plant into multiple smaller plants, I am trying to guarantee a constant source for harvesting one of my favourite herbs for cooking dishes.
Let me show you how to split and repot a basil plant, bought at the supermarket or grocery store, by demonstrating the different steps I recently took to get the job done.
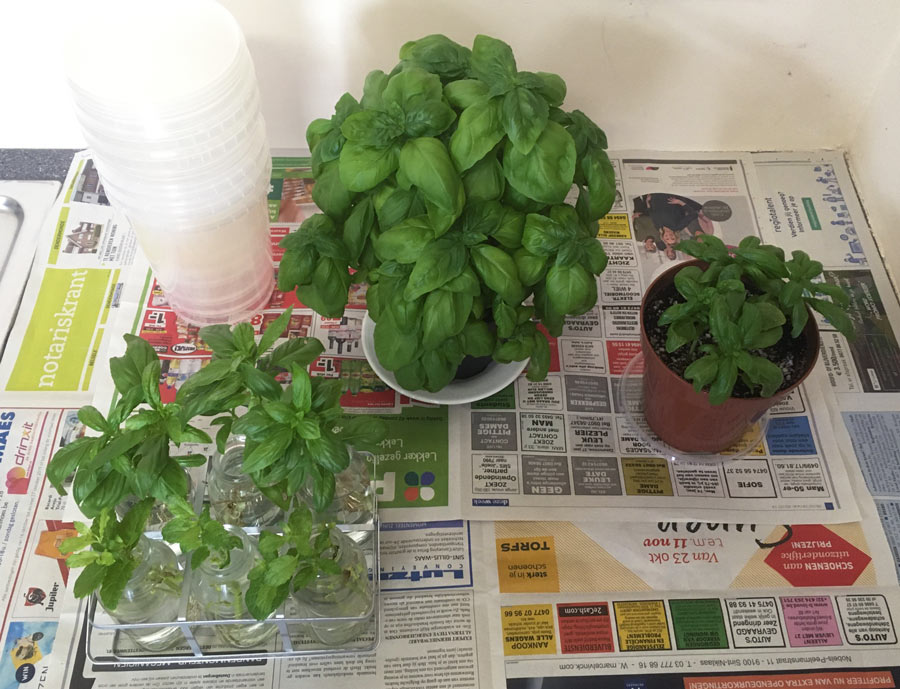
1 – Getting everything ready :
the basil plant, the new plastic pots, my own potting mix and some extra cuttings I have been rooting.
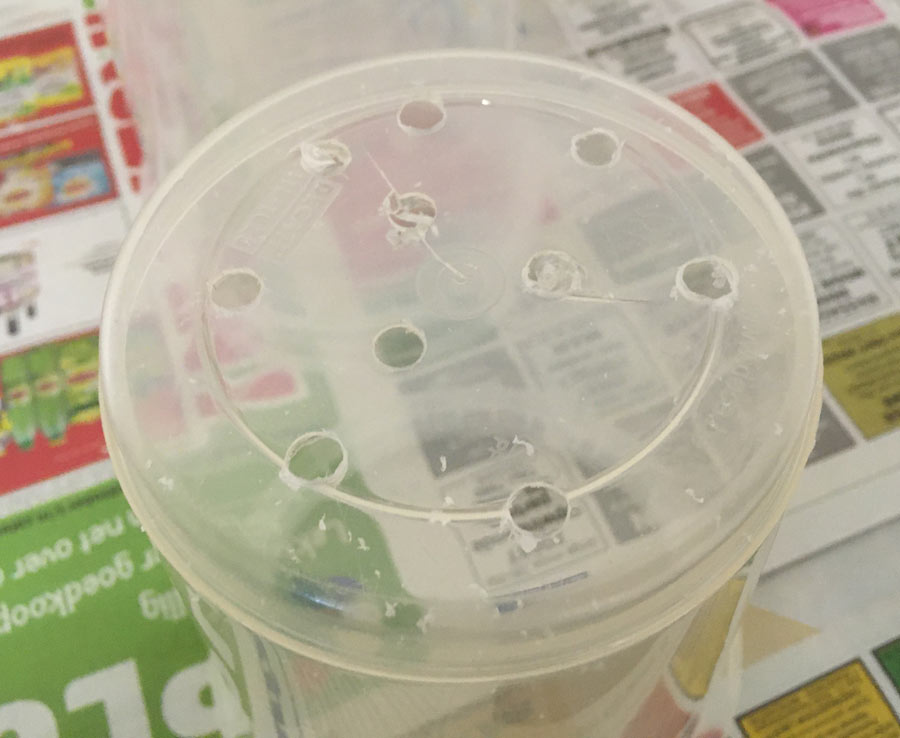
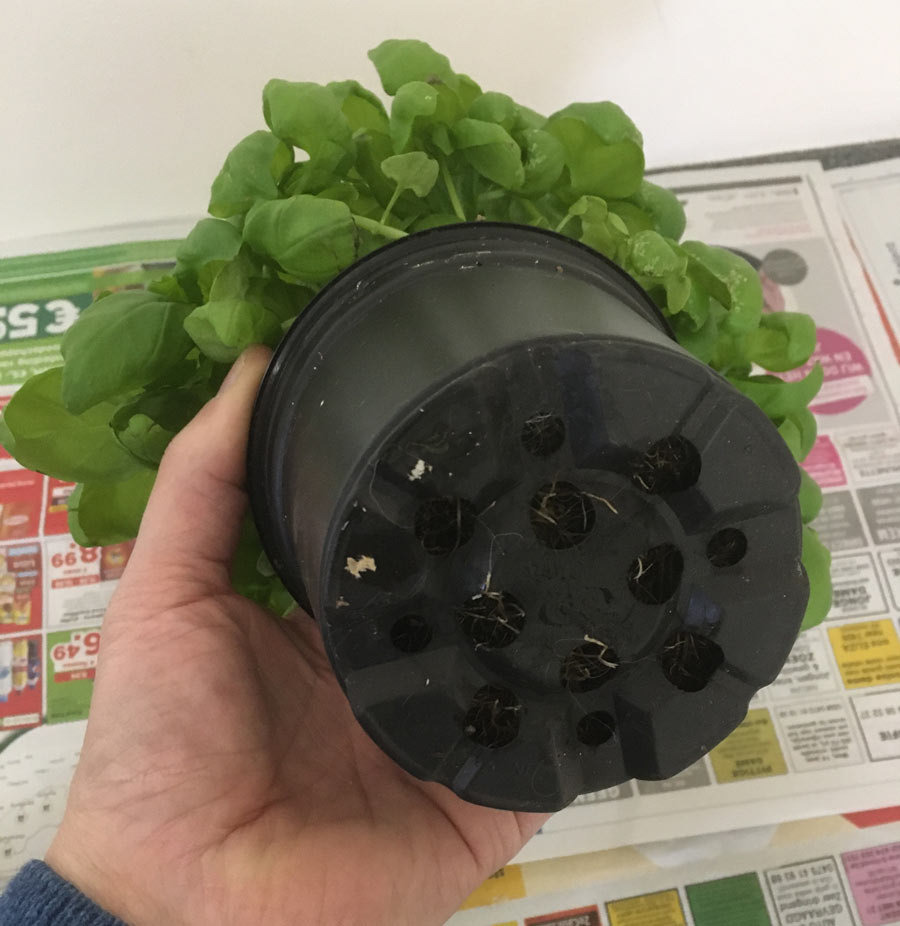
2 – Drilling holes in the bottom for good drainage:
This step is really important, because basil, like other herbs, hates to have its roots in really wet soil. The roots wil rot and the plant will die. The holes in the bottom will make sure that the water gets drained.
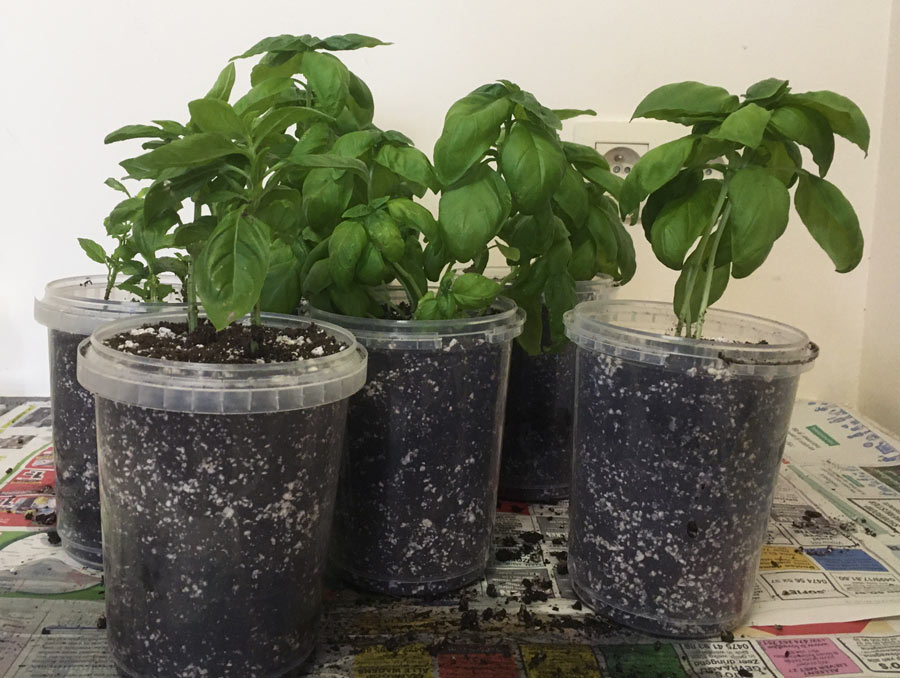
I use plastic soup pots, because this allows me to keep an eye on the moisture level inside the pot and also to watch the development of the root system.
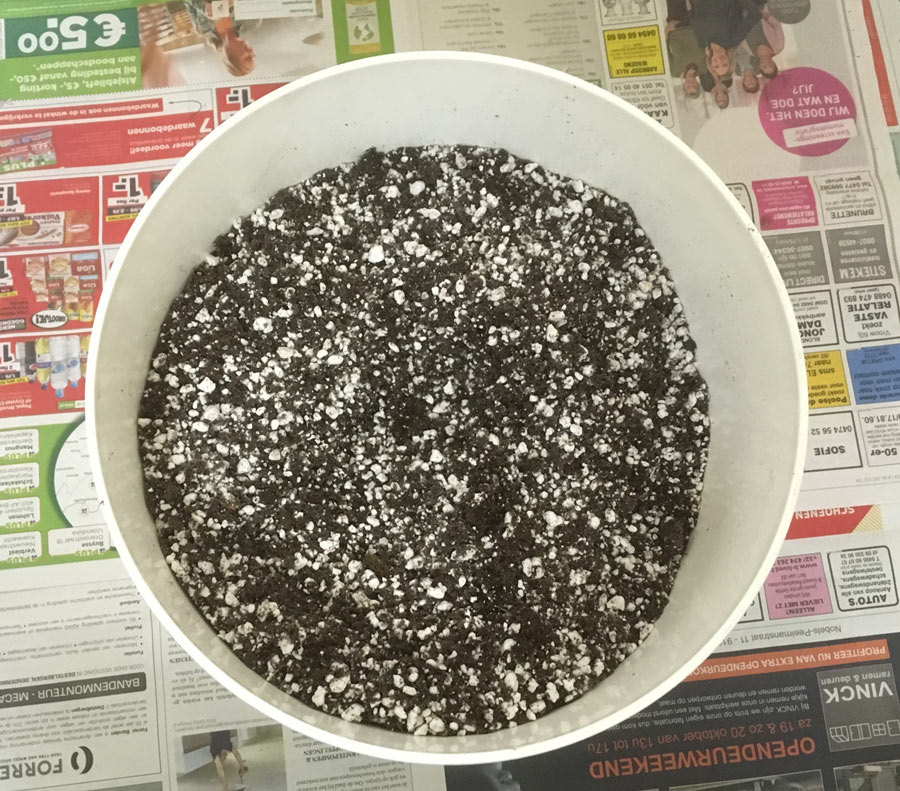
3 – The potting soil mix is ready
I will always use my favourite mix of potting soil. You can read all about it here: best soil for herbs – how to make your own potting mix
In this mix you can easily recognise the perlite.
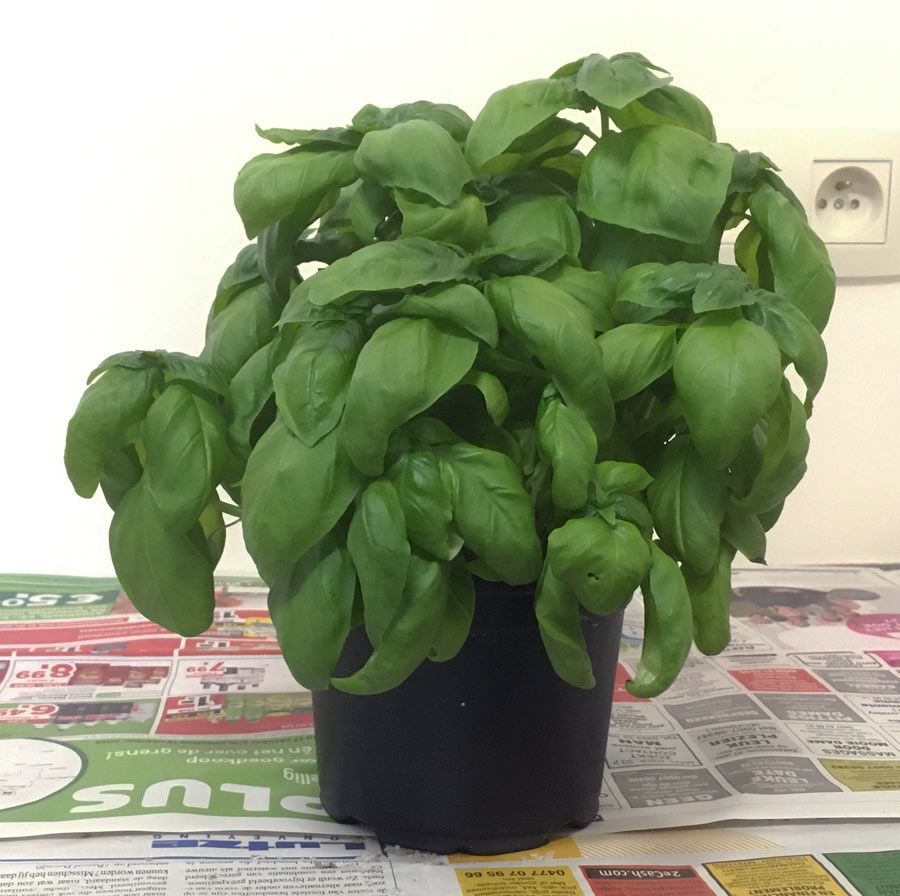
4 – The basil plant from the store
This is the pot of basil that I bought in the supermarket two weeks ago, I kept it on the window sill and in my growing spot with grow lights the last two weeks. I was especially paying attention not to overwater the plant.
5 – Be careful for the root system
Hold the plant in one hand and carefully loosen the pot from the roots, and take it off. Try to keep the roots intact as much as possible.
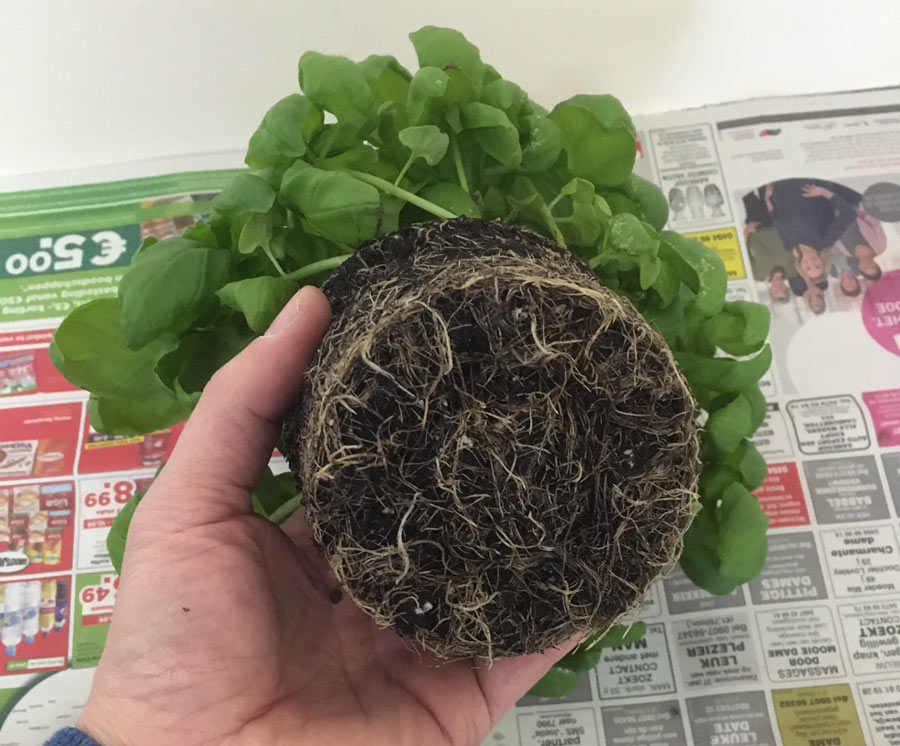
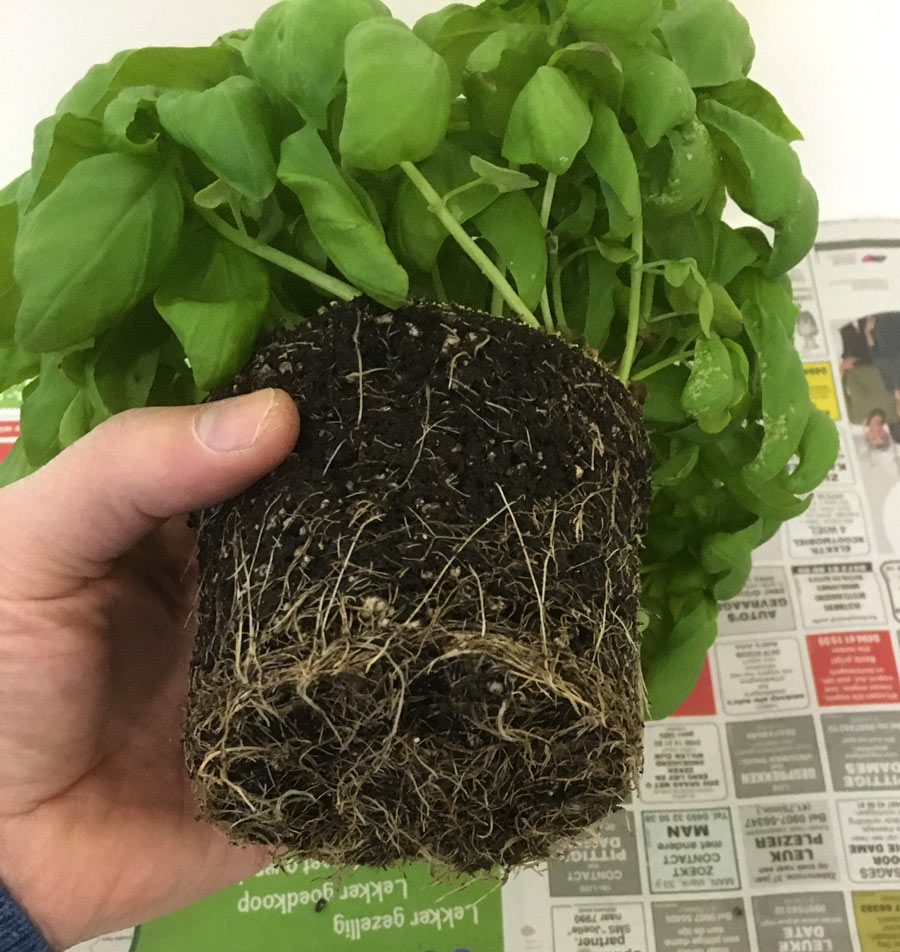
6 – Check the root system
The roots of the plant should have a light white color to indicate that they are healthy. Dark and moist roots often indicate that they are rotting. In that case drainage was not sufficient and the plant was overwatered. This root system is still young and looked quite healthy.
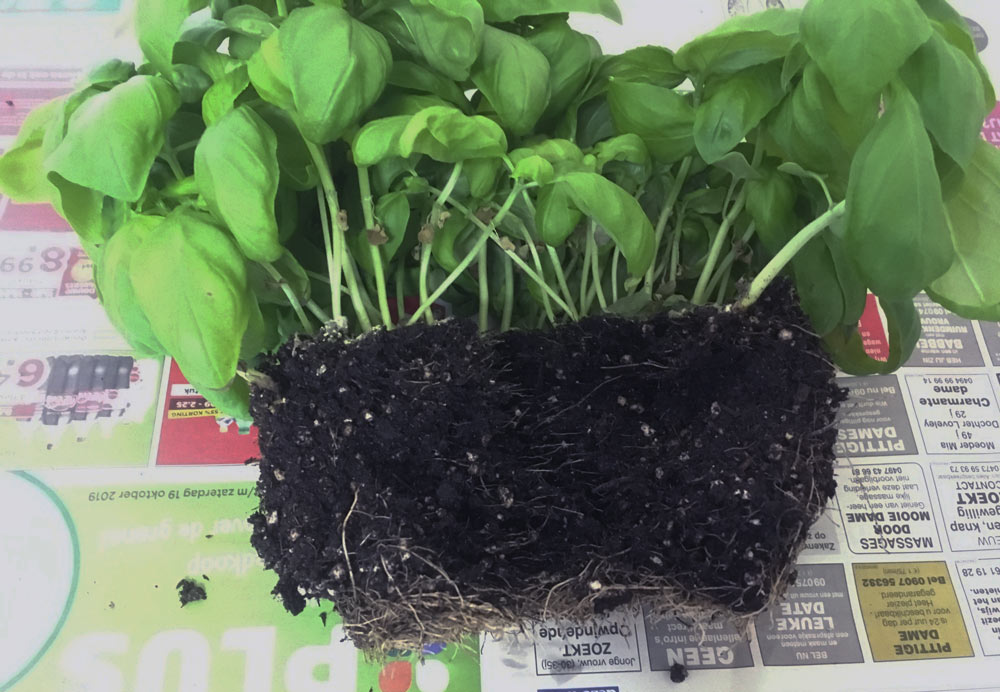
7 – Decide where to split the roots
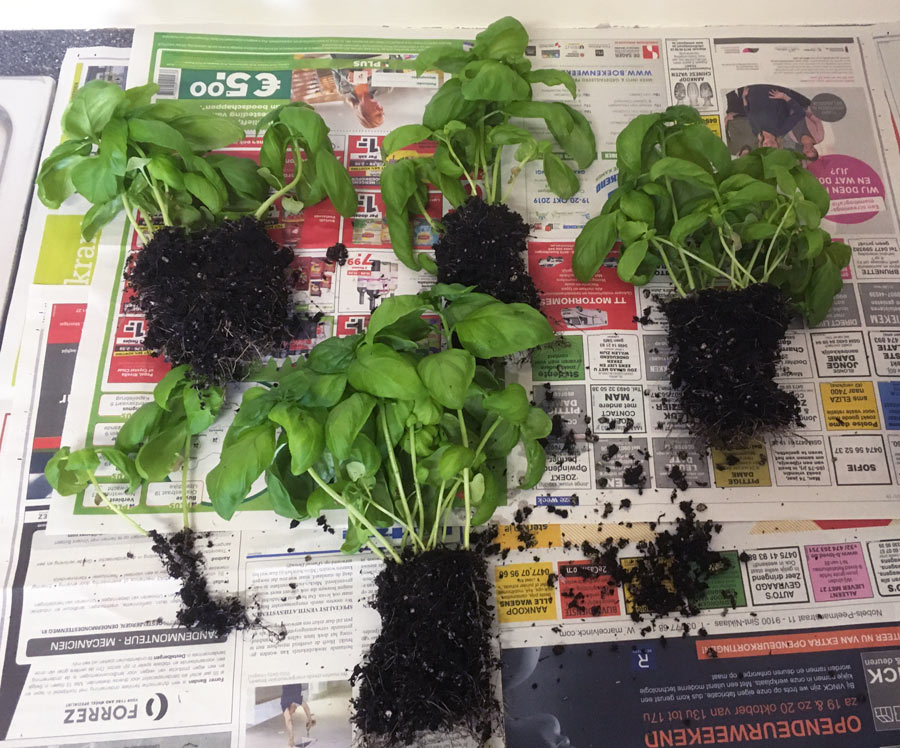
Splitting the roots isn’t really hard to do. Although you will always damage some roots, the trick is to pull open the root system with your fingers, paring the basil plant in smaller pieces. Always try to do as little damage to the roots as possible.
8 – Splitting the roots
In this picture I was splitting the root system into two parts.
And next I splitted each half a second time in two. Depending on the size of the basil plant and the number of separate plants you want, you can continue splitting the basil plant. In this example I stopped when I had four parts.
9 – Preparing for repotting the basil plants
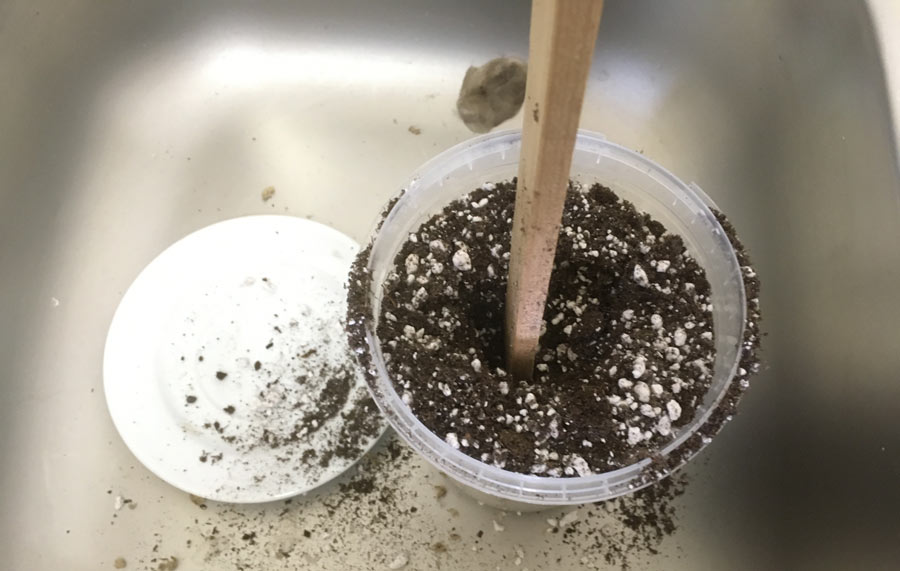
Each plastic pot is filled with the potting soil mix. Because the soil is really dry, I added a little bit of water to handle the soil easier. With a stick I made a planting hole in the potting mix, the spot where the parts of the basil plant will get planted in.
10 – Replanting the basil plant
After placing the basil plant in the plant hole, add planting soil into the pot and around the stems of the plant just up to the right height.
11 – Add water
The next step is to add water to the pot. I have put the pots in the sink filled with water so the pots are watered from below, and after a couple of minutes I add a small portion of water on the soil from above. While doing this I tried to avoid to get water on the leaves.
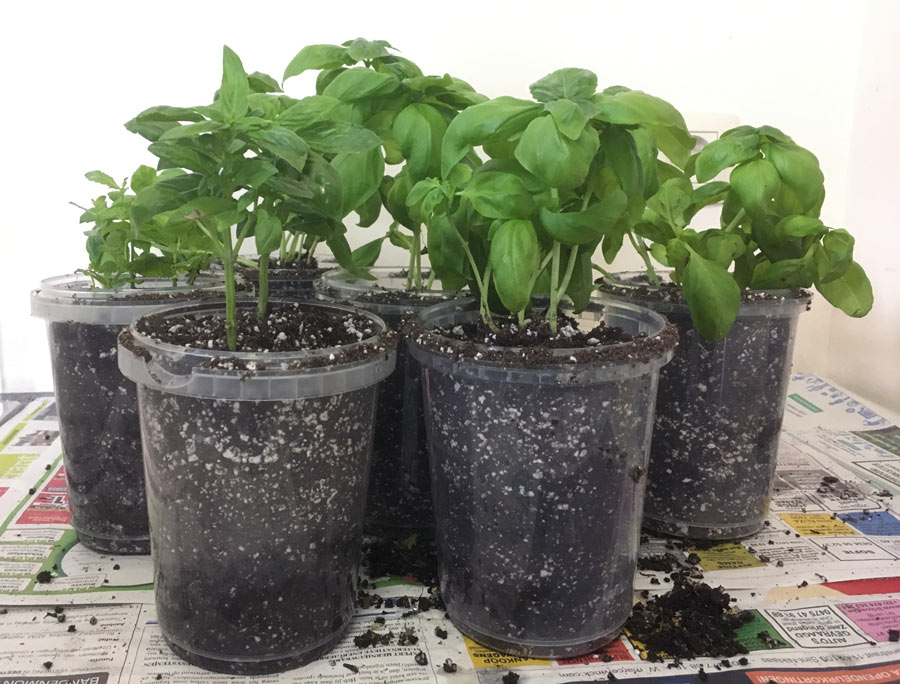
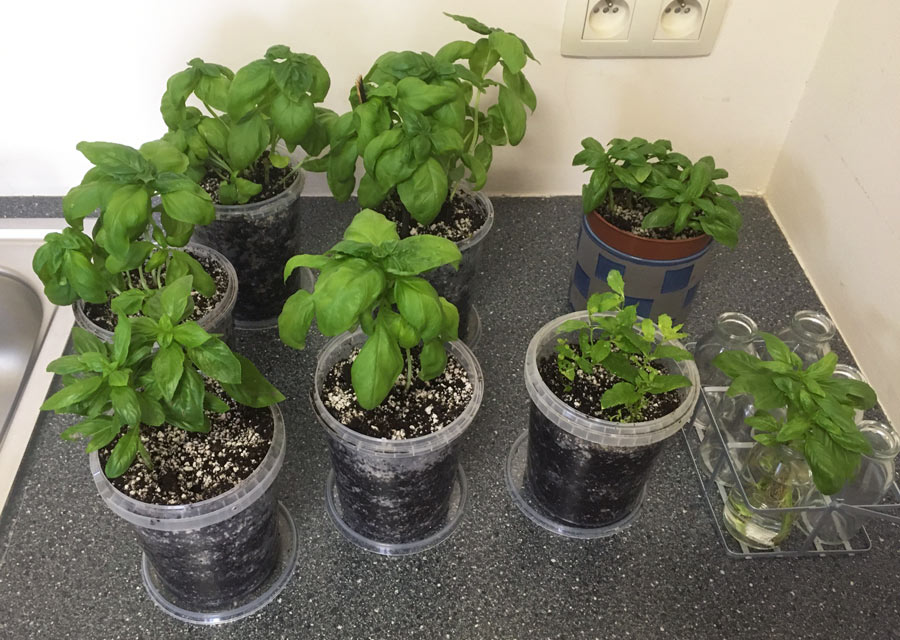
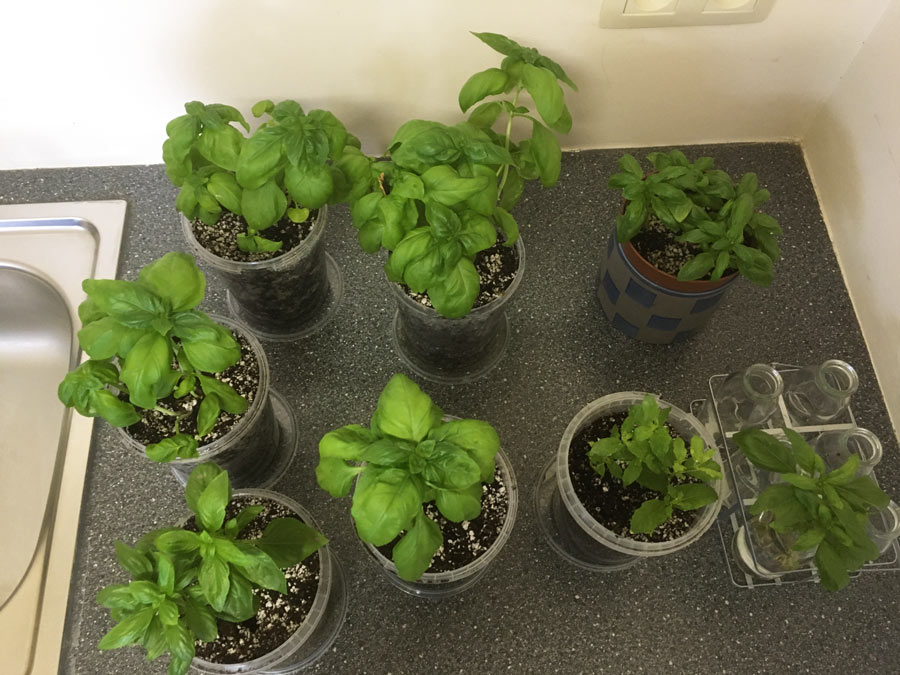
12 – The result of repotting from one basil plant
After watering (and allow them to drain) the pots are ready to be moved to their growing spots.
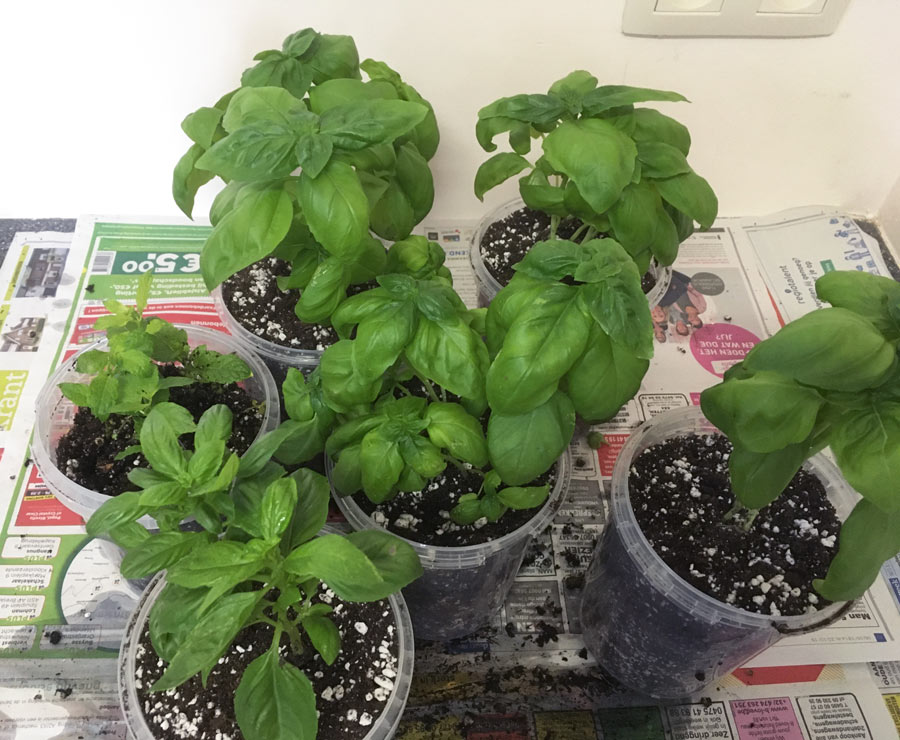
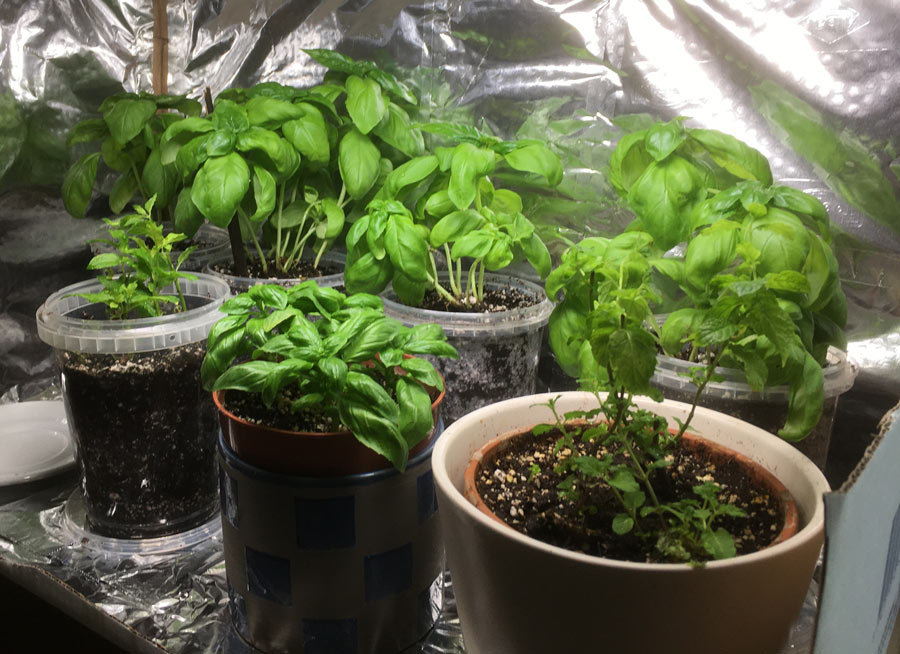
Ready for growing new big basil plants
In my growing spot with the grow light. In this picture you can also see the mint cuttings that I have been rooting the last couple of weeks.
Now, the next step is to take care of my newbies: light, temperature and (just) watering. You can read how it went soon on this blog.
Have you ever tried this yourself?



test